
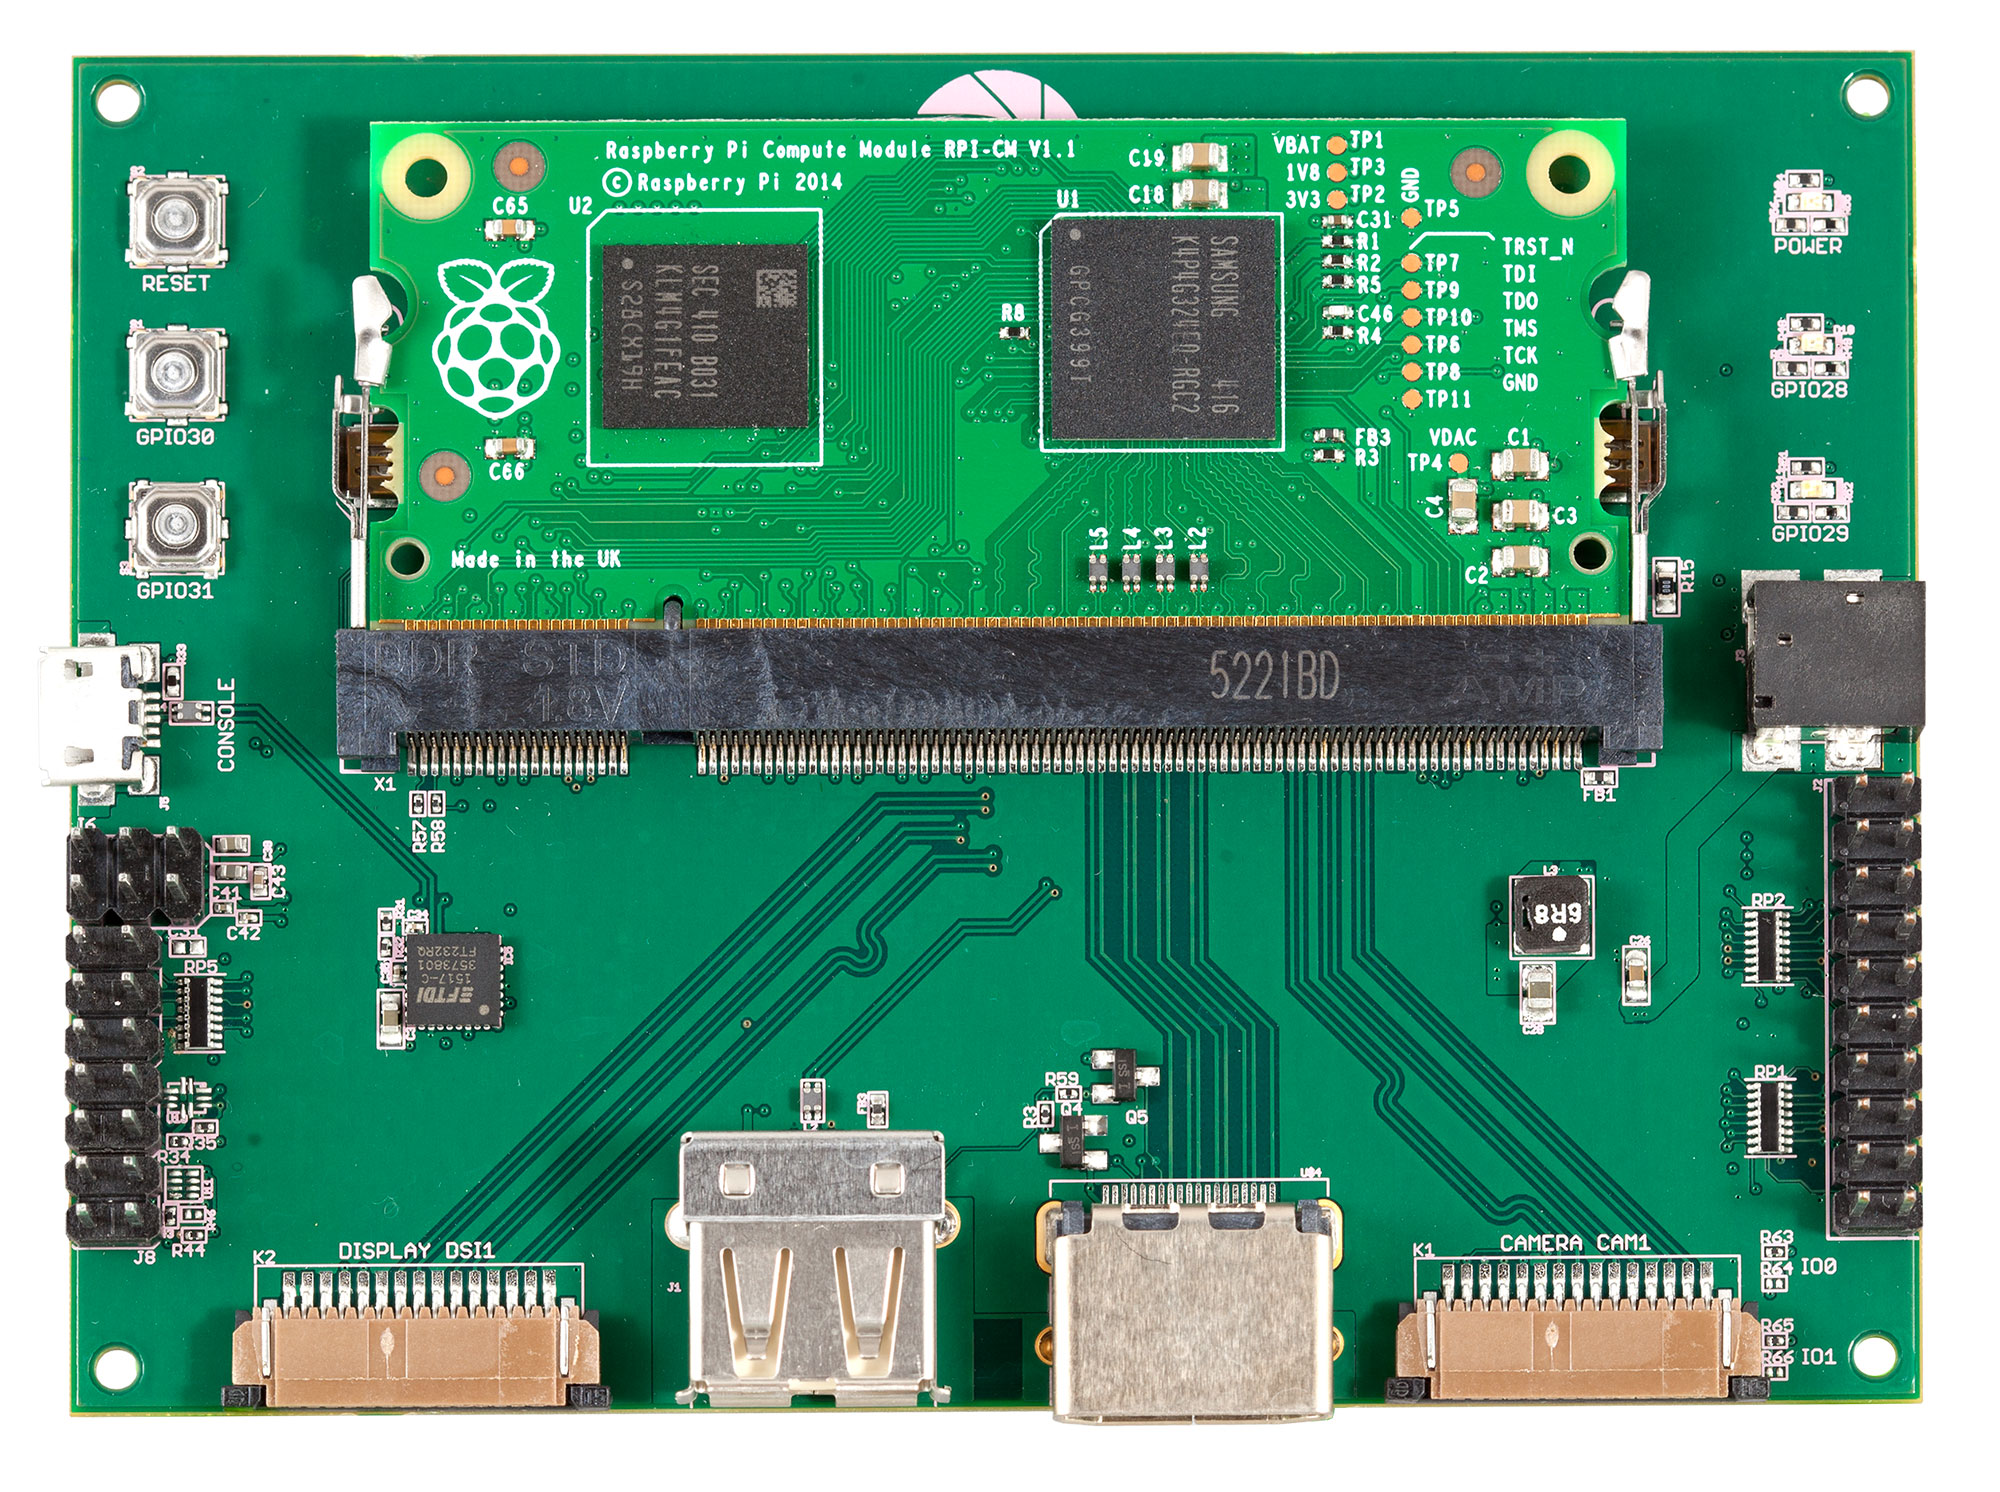
Gumstix creates the fastest path to market for Raspberry Pi Compute Module developers with our Geppetto Design-to-Order (D20) platform!
Now that the Raspberry Pi Compute Module has joined the Geppetto pipeline, you can build a custom Pi expansion board in less than a day. Like all Geppetto designs, your board will be verified production-ready by us and shipped within 15 business days of order.
Unfamiliar with the process? Learn about our platform for embedded hardware design.
Or, read how a seasoned electrical engineer saved $16,000 and months of development time using Geppetto to prototype his custom board for Raspberry Pi Compute Module: Geppetto guarantees what gets delivered works!
Otherwise, continue to see how you can quickly design a Pi Module board and get it ready for production.
Method 1: (New) Choose your functional specifications and let Geppetto build your board
One of the easiest ways to start a Geppetto design is with the Board Builder. Choose your functional components from a list of suggestions; then, with the click of a button, Geppetto will place your components on the board and establish all the needed connections.
Check it out with this 41-second video:
Yes, that’s really a board design created in less than a minute. How fast can you make one?
Tips for finalizing your generated board
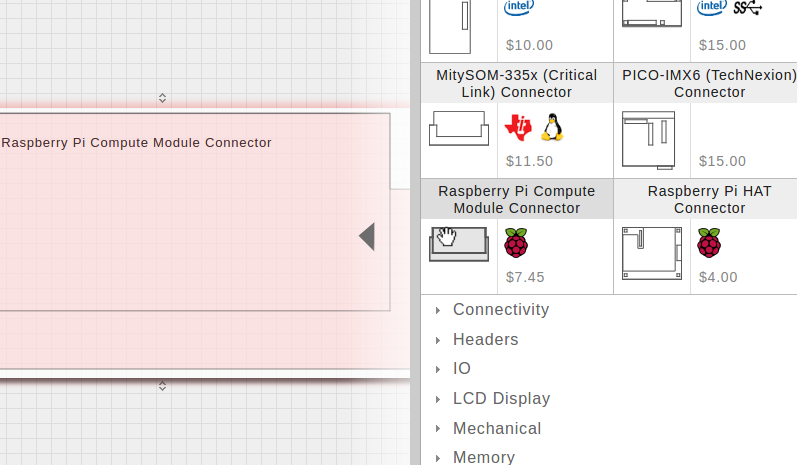
- A design is valid when the board is all green. If a component is yellow, it likely means that the slot on your COM/processor is already occupied by another, similar requirement. For example, the Raspberry Pi Compute Module Connector can support up to one USB Host slot.
- To see where your modules are connected, hover over them with your mouse and click the green require buses that appear:

Clicking a green require bus will show its provider (highlighted blue). - If you aren’t satisfied with the module placements, drag them to move them around the board.
- To resize the board, drag its edges.
- Mounting holes are automatically anchored to the corners of the board. If you need to place them elsewhere, you may want to add them manually from the Mechanical category from the right-hand library; or, enter Dimensions mode in the toolbar and adjust the measurements.

Method 2: Gumstix Pi Compute Dev Board – Click, Clone and Jump-Start Your Design in Geppetto
First, launch the Geppetto web application if you haven’t already, as that’s where we’ll be performing all our customizations. You can try Geppetto for free without logging in. However, if you’d like to save your design, please note that you’ll need an account.

Designed by the engineers at Gumstix, our Pi Compute Development Board for the Raspberry Pi Compute Module comes complete with the following features:
- HDMI-out
- USB host
- Pi’s 27-pin camera
- display I/Os
This board is sold directly at our store. But if it doesn’t contain all the features you need, you can clone and customize it!
Under the “Designed by Gumstix” tab at the top, look up “Gumstix Pi Compute Dev Board.”
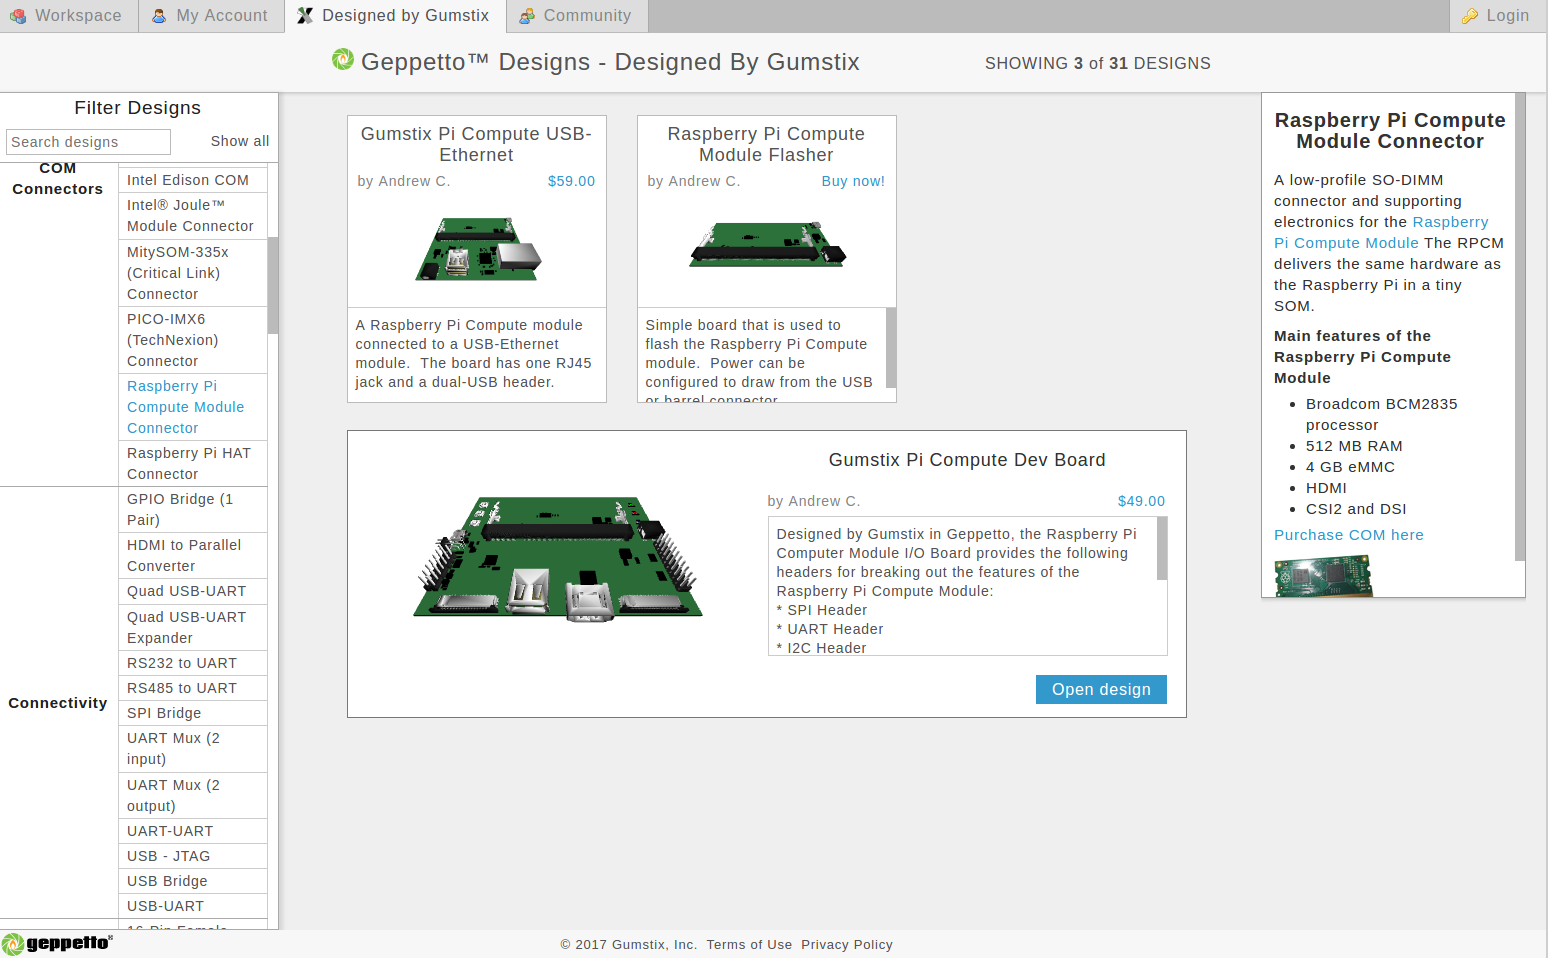
Click the preview image to expand the window, and hit “Open design.” Now you can start changing the board modules, size and layout to suit your purposes.
Quick Editing Tips
- Drag and drop your module customizations.
- Delete unwanted modules from the board by selecting them and pressing “Delete” on your keyboard.
- Rotate modules by selecting them and pressing “R” on your keyboard.
- Colour indicators show whether your connections and placements are valid. A fully green board is ready for production.
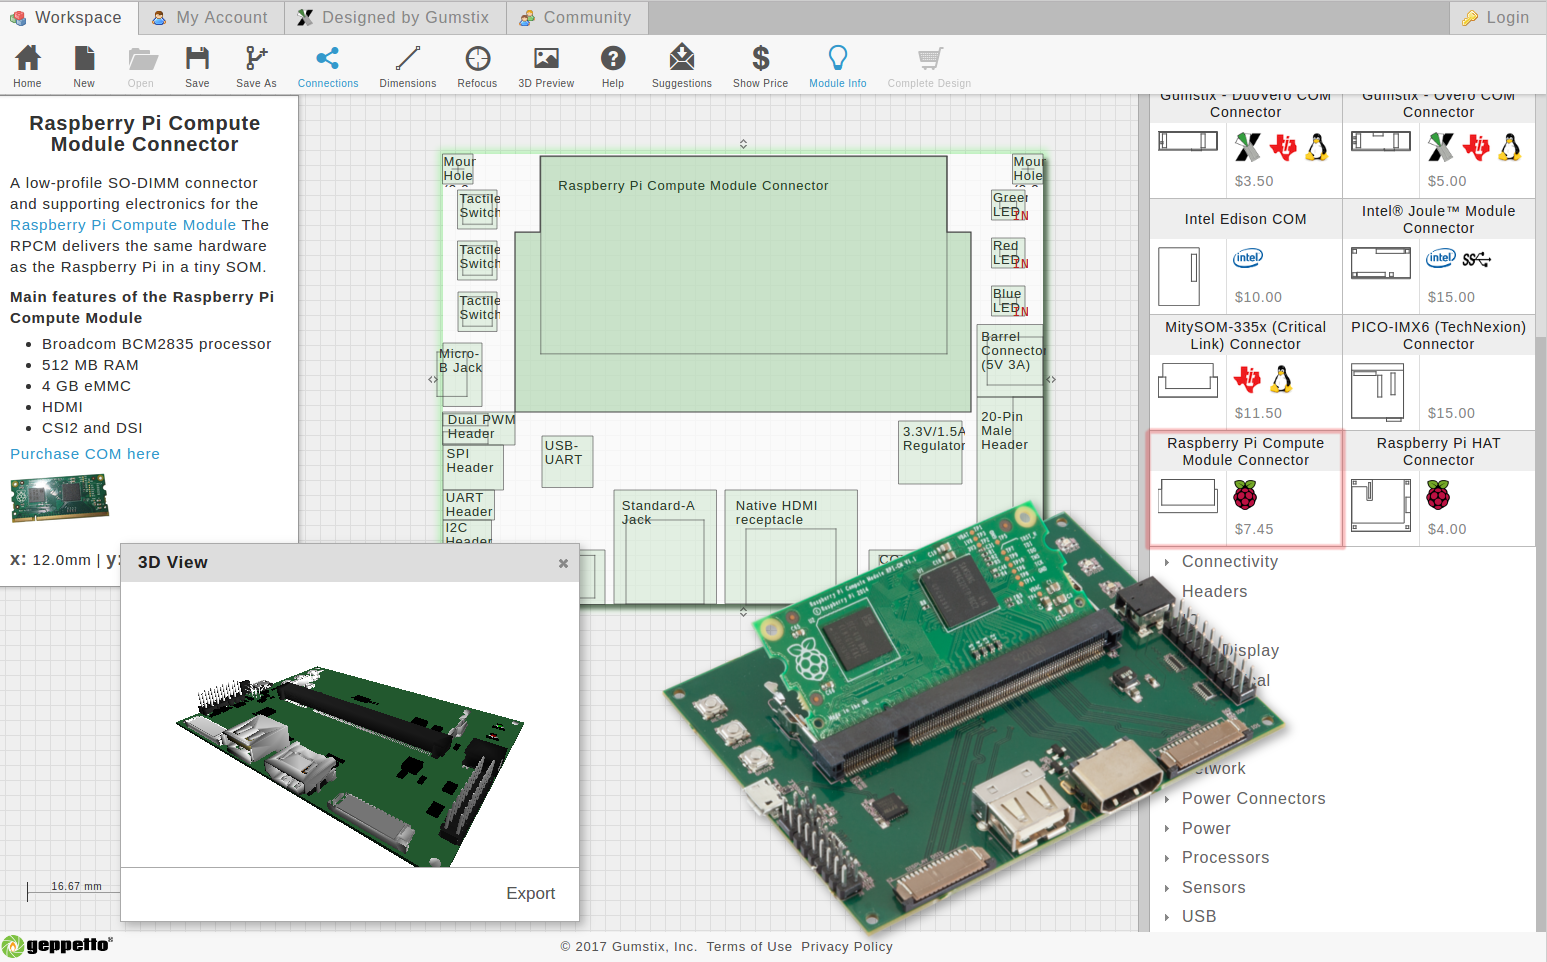
Method 3: Gumstix Pi Compute Connector – Drag, Drop, Design your own expansion board from scratch for Pi Compute
If you’re looking to add a custom board to your Pi Compute project, Geppetto D2O now has a SODIMM connector module with ports and signals pre-configured for the Raspberry Pi Compute Module. Drag and drop the Gumstix Pi Compute Connector to your board, and easily add components such as HDMI, USB, and a host of other common peripherals.
Tips to Building from Scratch
- Double-click the “Raspberry Pi Compute Module Connector” from the COM Connector library, or drag it onto the empty board. You may have to resize the board to fit it. The connector will be highlighted red. This means that there are unmet hardware dependencies and you will need to add more modules.
- To add modules, first make sure the “connections” button is highlighted in Geppetto’s toolbar. Then, hover your mouse over the Pi COM Connector. If you click on the “VCC 3.3” signal that appears, the right-hand pane will display all the modules that will satisfy that requirement.
- Drag a 3.3V/1.5A regulator from the pane onto your board.
- The regulator and the Pi COM Connector will now be connected together.
- Compatible modules on the board will also display provide flags when you select a requirement. These flags will be highlighted blue, and you can click them to make connections.
- Repeat this process until your board turns green.
Other useful features
- In the toolbar, click “3D preview” to view board and “$” to show approximate price.
- Click Save and Order to save the design to your account and order it, respectively. You will need an account for these functions.
For a more comprehensive guide to using Geppetto, check here:
Build your own Geppetto Custom Pi Compute board today!
 RSS
RSS